If you read my previous post, “Betta Care Guide #2: Building Your Own Tank Setup”, you’ll know what I said makes a good start for a new tank. Well, I just starting doing that last night, so I thought I’d share my progress with you.
First, I got a tank. A ten-gallon tank to be precise. Just a simple rectangular glass tank. My plan is to turn it into a divided betta tank. No, not like the bowl I thrashed in Part 1. Each betta will have 5 gallons to himself, and there will be a plastic mesh divider, which I plan to cross two sheets of plastic mesh so the bettas will not be able to see each other clearly, while still allowing water to flow through, which lets me only have to have one filter and one heater.
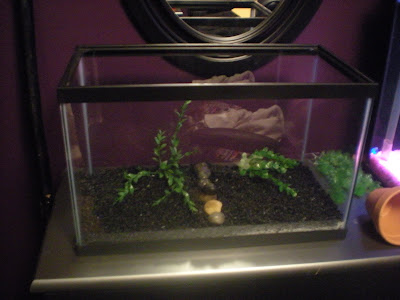
Next, I got substrate. Plain black gravel, which I cleaned thoroughly with a sieve and cold water. I laid it in an even layer across the bottom of the tank, and then laid some decorative “river stones” randomly. I left a space for the fish cave to go, and then I put in my plants; plastic plants that passed the pantyhose test. I placed them towards the back of the tank, but left enough room that the bettas can swim behind them.
So far, I left the tank symmetrical, drawing a line down the middle and placing the river stones on top of the line, so I would know where my mesh divider would go.
Next, I got a terracotta pot and sawed it in half with a circular saw. After I soaked them in water and made sure they were safe, I placed both halves into the tank, in the rear corners. These will act as my clever fish caves.
Of course, I forgot about my divider so I had to take everything back out and shove all the gravel to opposite sides of the tank to clear a place. I made the divider out of plastic type “7” knitter’s mesh I got at Wal-Mart for about $3 for 6 sheets. I used some Sliding Bar Report Binders I got at OfficeMax for about the same price for 6 bars. I attached the bars to the glass with clear all-purpose silicone and let it dry for 24 hours before I replaced the gravel and ornaments.
Next I attached the Tetra Heater and the Tetra Whisper Power Filter to the tank.
Next I finished the hood by installing the light bulbs and cutting out the back plastic to allow for easy filter maintenance. Here’s a picture of the tank with the lights off and on. With the lights on, the mesh is lightly reflective, obscuring the other side of the tank even more. At night, the other side of the tank isn’t even visible.
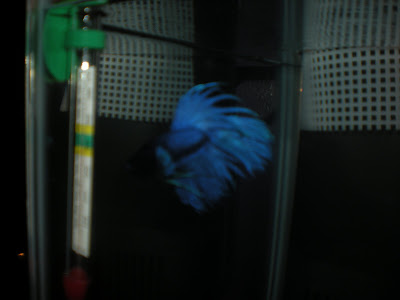
I then added water to the tank using a plate and a 2 quart pitcher. It was a little slow, but it was worth it. I purposefully used colder water (about 60 degrees or so) to see if the heater could indeed heat up the whole tank and keep it steady. I was up just about all night monitoring the progress, waiting for it to plateau. The heater averaged about a 2 degree change per hour, so I was fairly impressed with that change, considering how much energy is needed to heat water, and adding the fact that the thermometer is as far away from the heater as possible. The heater ended up being stable and held the entire tank at about 76 degrees. After acclimating him, I added my betta and released him into his new apartment. I soon realized that the filter output was creating too much current for him to live comfortably, so I moved him to the other side of the divider and built a diffuser out of the same type of mesh as the divider. Now he is swimming happily in his new home. After I was sure the set-up was going to work, I added the second betta to the tank, and he too is perfectly happy in his apartment, and the diffuser works perfectly.


0 comments:
Post a Comment